
Want everything you need in 1 place? Get our Isopod Terrarium Kit!
- A Proper Container
- Enough Ventilation
- Good Substrate
- Humidity Gradient
- Elevated Hiding/Climbing Areas
- Dried Leaves
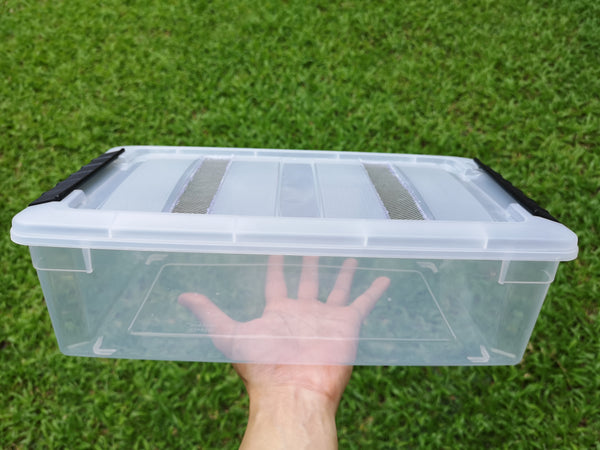
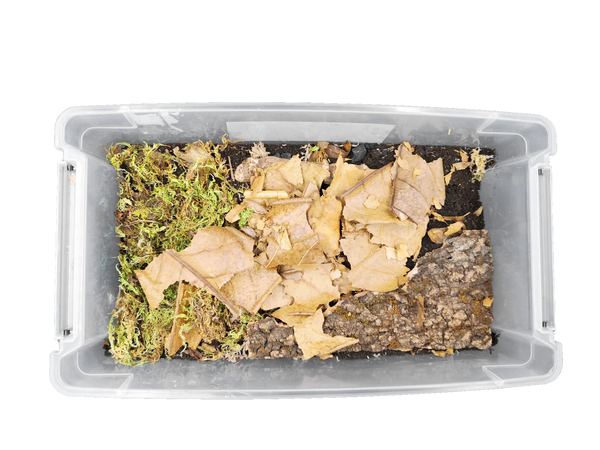
First things first — your container. For this guide, we're going with a 6 liter storage bin. However, feel free to use any container with at least a 5 liter capacity. Aquariums, Exo Terras, tupperware, whatever you have. Isopods can't climb smooth surfaces, so anything made of glass or plastic will work great.
Now, ventilation. Ventilation keeps your enclosure fresh and your isopods happy. I generally aim to vent around 10-15% of the surface area of the lids of my enclosures. Enclosures with more ventilation will dry out faster.
Next, substrate. There are tons of mixes that work, but I'll give you a base recipe.
- Base (80-85%)
- Soil or vermicast. Make sure to avoid soil mixes that have added fertilizers. Bake or dry this in the sun to eliminate any unwanted organisms.
- Anti-Clumping (10-20%)
- Fine sphagnum moss, coco peat, small coco chips, tree fern fiber, etc. This will keep your substrate from clumping and make burrowing easier for your isopods.
- Optional additives (0-5%)
- Leaves - Mix in shredded dried hardwood leaves. Mancae (baby isopods) will appreciate shredded leaves mixed into the substrate.
- Calcium source - Use any of the following: crushed limestone, reptile calcium, crushed dried egg shells, crushed cuttlebone, or crushed oyster shells.
- Crushed charcoal - Finely crushed lump charcoal will act as a filter. This helps keep your substrate clean and healthy!
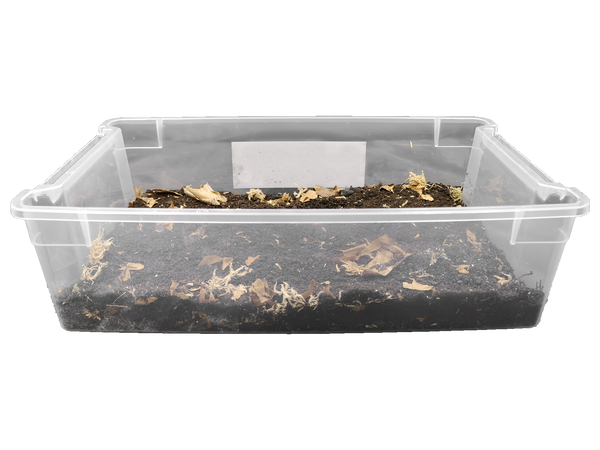
Your substrate should be 1-2 inches deep. Remember, deeper substrate takes longer to dry out! That's a good thing!
Speaking of drying out, let's talk about the humidity gradient. Your isopods need a dry side and a moist side.
- Making a dry side is easy. Just choose a side, and never mist it.
- A moist side needs something to hold the moisture. Put a patch of moss in one corner of your enclosure (live, dried, sphagnum, etc). Water this corner whenever it looks like it's beginning to dry up.
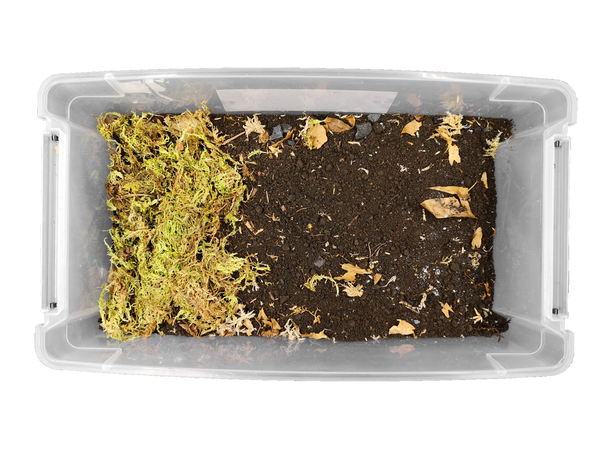
Your moss patch should generally be 1/4 to 1/3 of your enclosure.
Now, we set up the hang out spots, the hiding and climbing spots. A hide will give your isopods somewhere to gather and feel safe under. They'll also climb on top of their hides whenever they need to dry out, or when they need a little extra air while molting. Cork bark hides work great! They won't crush your isopods, and your isopods will even nibble on it once in a while!
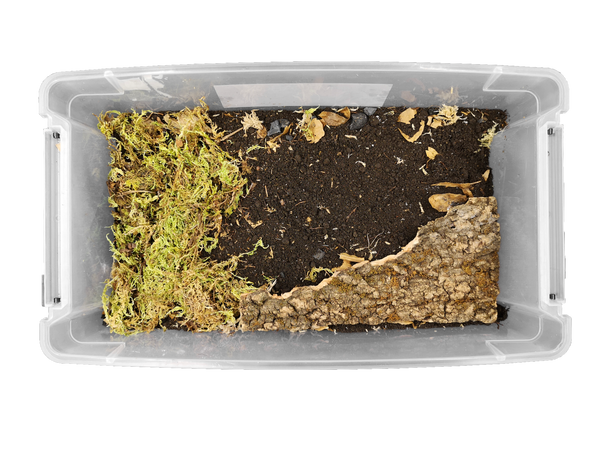
Here we lay the bark ACROSS the moisture gradient. You want part of the bark in the moist area and part of it in the dry area. If your bark isn't long enough, you can always add multiple pieces! Add some hides by your moss patch, and some hides in your dry area.
Finally, we get to the most important part! Dried hardwood leaves. Make sure you have a thick layer of leaves in your enclosure. Your isopods will take all sorts of supplemental food, but their main diet will always be the hardwood leaves.
I have two leaf-related tricks that I think help more mancae survive. First is pulverizing one leaf in your hands when you first set up your enclosure. Mancae have an easier time eating powdered leaves. Second is making sure some leaves are buried in your moist area. Moist leaves break down and get very soft. These soft leaves are also easier for mancae to eat!
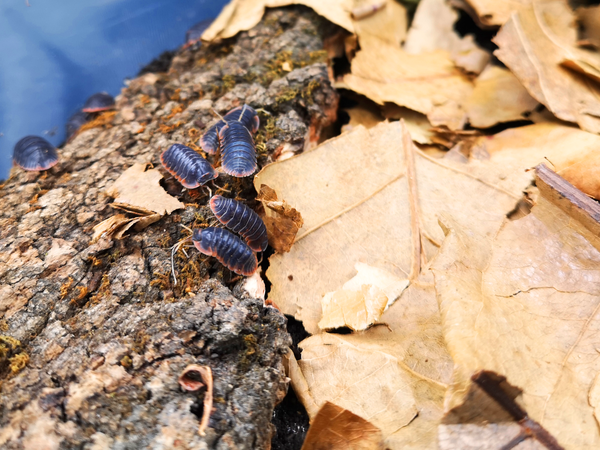
The final, obvious touch... isopods! Release your isopods and watch them explore the little world you made for them!